

This open-source Chrome extension finally made me read my “read later” list
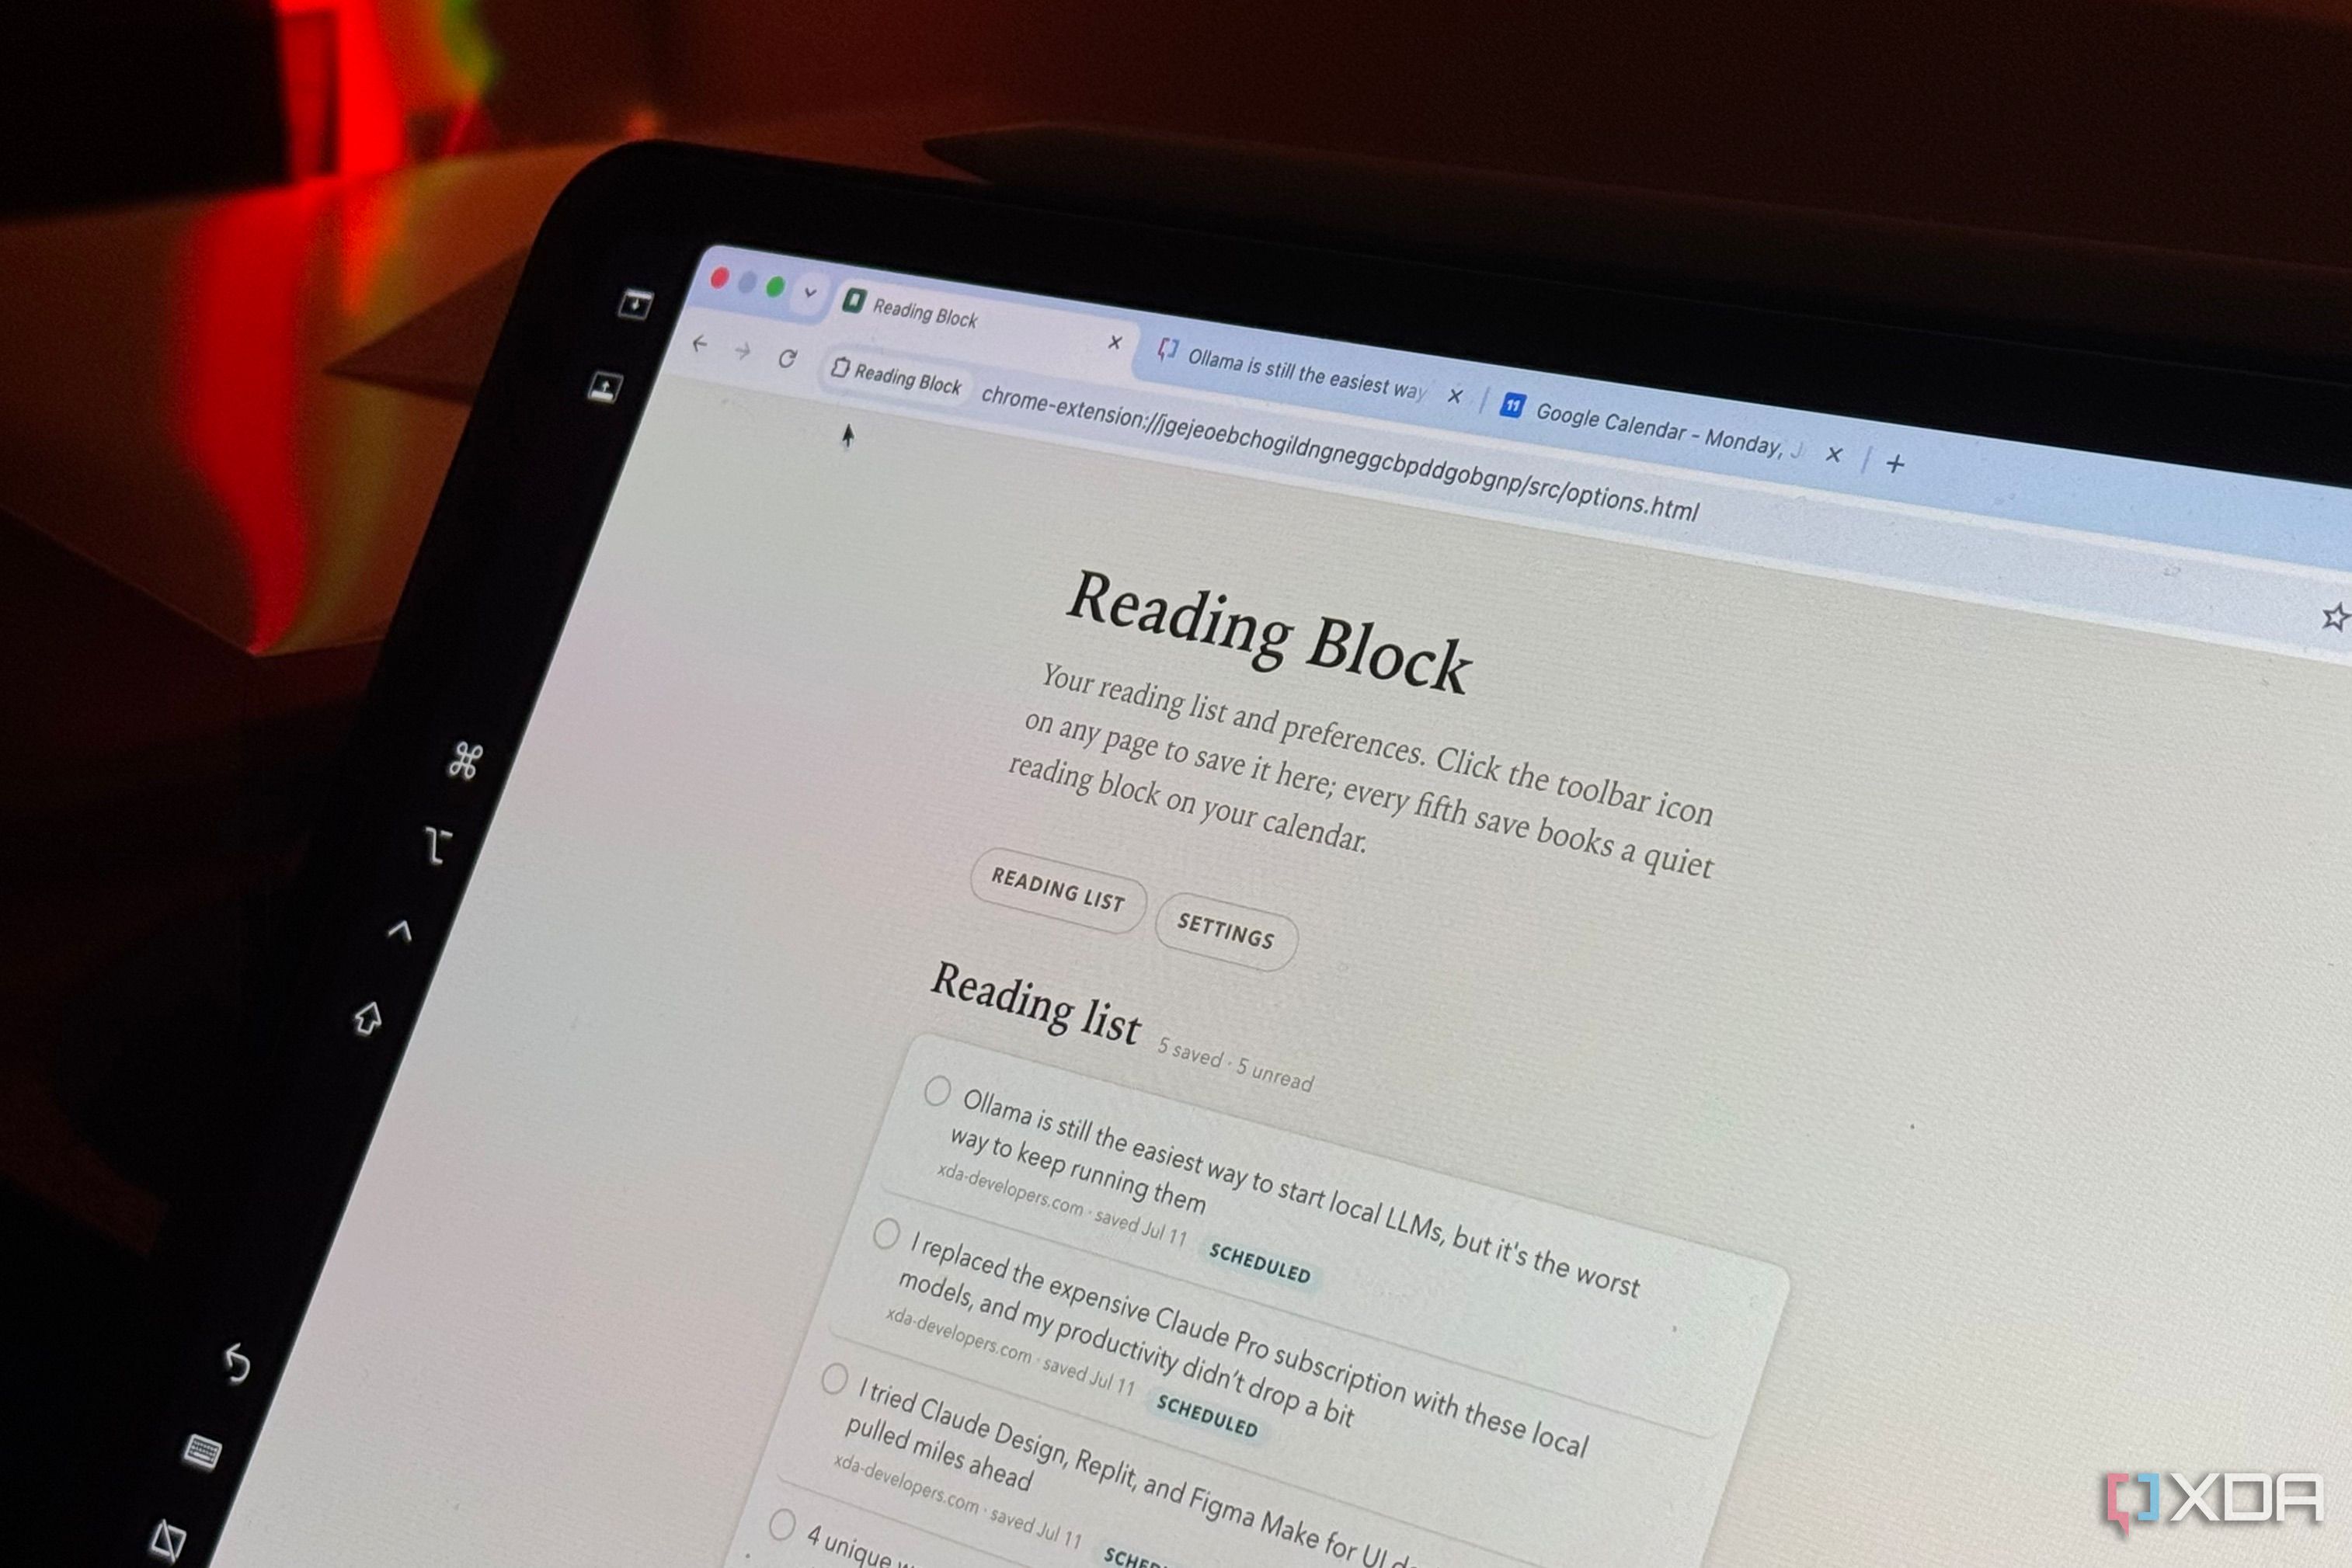
Everyone, and I mean everyone on the internet, has been pushing the narrative that you need to adapt to AI and find ways to integrate it into your workflow meaningfully. I don’t disagree with that sentiment, and I’ve been one of those voices. But despite how much the world is changing, there’s another narrative I’ve begun to push more and more: that we need to start reading and consuming real, literate content now more than ever. We need to read and write again, to bring back the kind of sustained attention that a feed actively works against. Unfortunately, we’re at a stage where the complete opposite is being done to the point where it feels dystopian. You’ll find people summarizing AI slop with another AI tool, then drafting a reply with a third! All content that no human fully wrote, passing between people who won’t fully read it. Every passing day, we whittle our attention down further, trading depth for the endless scroll. Somewhere in that exchange, the actual thinking falls out. Reading (and I mean the slow kind, not skimming a thread while three other tabs load) is starting to feel like a countercultural act. All this to say, an open-source Chrome extension I discovered recently has helped me actually read my read-it-later list.
What we don’t need is another AI summarizer
Your read-it-later list is where articles go to die
Just as I mentioned above, we’re drowning in tools that promise to save us time by doing our reading for us. Every one of them quietly widens the gap between what we’ve “consumed” and what we’ve actually thought about. A summary of an article isn’t the article! Instead, it’s someone else’s compression of it, and increasingly that someone is a model that skimmed it faster than you would have. What we need right now is something that’ll give us the one thing all these summarizers take away: time to read for ourselves. A lot of people, including me, rely heavily on time-blocking their calendar. In my head, if a task doesn’t exist on my calendar, it doesn’t exist at all. A huge chunk of my reading list lives in that exact limbo. I’m always, always saving random stuff I want to read to my bookmarks, adding them to yet another read-it-later tool like Recall, or even sending them to myself on Instagram, so I’ll remember to read them when I’m doomscrolling later. Of course, all of these efforts rarely actually result in reading. They simply mean the article resurfaces mid-scroll, gets an “oh right, that,” and slides back under. None of them ever put the reading anywhere I’d actually see and act on it. To put it more directly, none of the tools I’ve used put what I need to read on my calendar.
This extension turns saved articles into calendar appointments
If it’s not on the calendar, it isn’t real
The extension that finally broke the cycle is called Reading Block, and it’s built by one of my favorite AI builders, Zara Zhang. This extension, which is open-source, does exactly what I mentioned above: blocks out dedicated time on your calendar to read what you’ve saved. Instead of automatically blocking time on your calendar for each item you save, the extension waits for you to save five before it books anything. Once you hit that fifth save, it finds the next free slot inside your chosen days and hours and drops a single 30-minute block into your calendar. Links to all five of your reading materials are conveniently tucked right inside the calendar event, so when the block rolls around, you’re not hunting through bookmarks or apps to find what you meant to read. Rather than just taking your word and believing you read everything, the extension checks in with you when the block ends. A little checklist pops up asking what you actually finished, and you’ll need to tick off what you managed to get through within that 30-minute slot. Anything you leave unchecked rolls straight back into your list for the next block! While the 5-save cap is what Zara has set as the default, you have full freedom to change it.
Head into the settings, and you can adjust how many saves trigger a block, along with the days and time window it draws from (it defaults to weekday afternoons, 2–6pm), and the length of the block itself.
So if five feels like too long a wait, or a 30-minute slot isn’t enough to get through five articles, you can tune it to whatever actually fits how you read.
There’s some initial setup you’ll need to go through
Fair warning: you’re about to meet the OAuth consent screen
The best part is that you don’t need to create an account to use it, and everything you add to your reading list stays locally in your browser. However, there’s a bit of upfront setup to get through before any of that magic happens. While this setup is a tad bit intimidating, it’s something you’ll only need to do once and the payoff is certainly worth the time it’ll cost you upfront.
While I did the entire setup in Opera, which is a Chromium browser too, the extension kept throwing errors when it tried to connect to Google Calendar. The moment I loaded the exact same extension into Chrome, with the identical setup and the same OAuth credentials, it worked on the first try. So if you’re planning to use Reading Block, save yourself the headache and set it up in Chrome from the start. It may well work in other Chromium browsers too, but Opera, at least in my case, wasn’t one of them.
The first thing you need to do is load the extension into Chrome yourself. Since this extension isn’t available on the Chrome Web Store and only lives on GitHub for now, you’ll be loading it in manually rather than clicking a tidy “Add to Chrome” button. To do that, download the project folder from this GitHub repository, head to chrome://extesnions, and enable the toggle next to Developer mode. Once that’s on, a Load unpacked button will appear on the top-left. Click the button, and select the project folder you just installed. A card titled Reading Block will immediately pop up, and you should see a long string of letters called the Extension ID. Make sure you copy this ID and keep it somewhere handy, since you’ll need it for the steps below.
Once you’re through with the above, this means the extension is locally installed on your browser and half of the setup is done. In the current form, the extension will be able to save articles, but won’t be able to book anything on your calendar as it doesn’t have the permission to do so. That’s the second half of the setup, and it’s the fiddlier one — registering the extension with Google so it’s allowed to touch your Calendar. Google requires every app to register before it can access your calendar, so the next steps walk you through creating a free project, switching on the Calendar feature, and generating a login ID you’ll hand to the extension. The first thing you need to do is head to Google Cloud Console and sign in into your Google account. Then, click the project dropdown at the top, hit Next Project, and give it a name.
Related
I self-hosted my own RSS reader to keep up with the news
Self-hosting FreshRSS gives you speed, privacy, and customization in one package
Create the project, select it in the project picker and then use the top search bar to find the Google Calendar API. Click it, then hit Enable. With that done, you’ll need to set up what’s called a consent screen. This is the permission dialog you’ll see later when you connect it to your calendar. From the left menu, go to APIs & Services > OAuth consent screen (in newer versions of the console, this shows up as Google Auth Platform > Audience). Choose External, then click Create, and fill in the required fields: an app name (Reading Block works), plus your own email for the support and developer contact fields. Now, on the Test users screen (which you’ll find within the Audience page), click Add Users and add your own Google email address. Then, hit Save. Given that the app stays in “Testing” mode, only the email addresses you list here are actually allowed to use it. In this case, the only user that needs to use the extension is, well, just you.
Now for the login ID itself — the piece that actually ties the extension to your Google project. Back on the left menu, go to APIs & Services > Credentials, click + Create Credentials, and choose OAuth client ID. For the application type, pick Chrome Extension, give it a name, and then paste in that Extension ID you copied all the way back in the first half of the setup. Hit Create, and Google will hand you a Client ID. This is a long string ending in .apps.googleusercontent.com. Make sure to copy it!
The final step here is connecting that Client ID to the extension itself, which is where the two halves of this setup finally meet. Open the manifest.json file inside the project folder using any text editor, and look for the placeholder that reads PASTE_YOUR_GOOGLE_CLIENT_ID_HERE.apps.googleusercontent.com. Replace that entire placeholder with the Client ID you just copied, making sure to keep the quotation marks around it intact.
Save the file, head back to chrome://extensions, and click the reload arrow on the Reading Block card. With that, the setup is finally done! .Now, sit back and start saving. Left-click the Reading Block icon on any article you want to come back to, and you’ll see a small “Saved” confirmation pop up in the corner of the page. Do that five times, and on the fifth save, Google will ask for permission to add events to your calendar. Since this is your own personal, unpublished app, it may throw up an “unverified app” warning. Click Advanced, then Go to Reading Block (unsafe), then Allow, and you’re through. You’ll never need to worry about seeing this warning or going through this setup again! From here on out, all you need to do is save articles and read away!
Diterbitkan : 2026-07-12 14:30:00
sumber : www.xda-developers.com